djay Pro Neural Mix AI: Isolate Vocals, Drums & Instruments
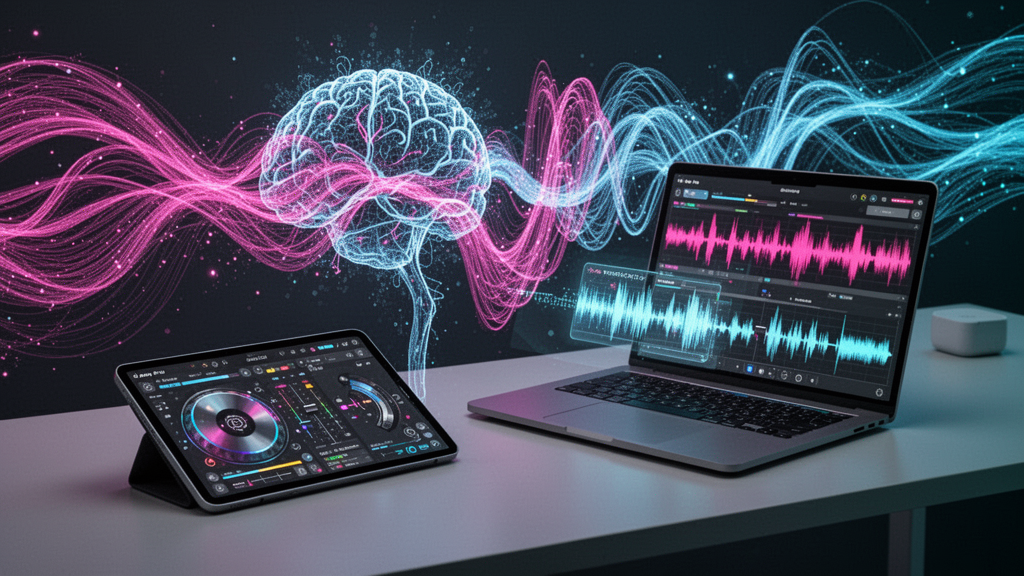
Prerequisites: What You Need Before Getting Started
- Apple Device: A Mac (macOS 10.14 or newer), iPad, or iPhone. (This guide will focus on the Mac version, but steps apply similarly to iPad/iPhone.)
- Supported Hardware: While not required, using an audio interface or DJ controller can enhance your experience.
- Apple ID: Needed to download djay Pro from the Mac App Store and connect to Apple Music.
- Internet Connection: Required for downloading, activating, and using music streaming features.
- Headphones/Speakers: Essential for cueing and performing accurate mixes.
Step 1: Download and Install djay Pro
-
Open the Mac App Store:
Click the App Store icon in your Dock or Applications folder.
Why: djay Pro is only available via the official Apple ecosystem, ensuring updates, security, and licensing integrity.
-
Search for "djay Pro":
Type djay Pro in the top-left search bar and press Return.
Why: The search quickly locates the official app by Algoriddim.
-
Download and Install:
Find "djay Pro AI" and click Get (or the cloud download button) to install. Sign in with your Apple ID if prompted.
Why: Only downloading from the App Store ensures you get the latest, authentic release.
-
Launch djay Pro:
After installation, find djay Pro in your Applications folder or Launchpad, then double-click it to open.
Why: Opening for the first time completes setup and may request necessary permissions (like music library access).
Pro Tip: Always keep djay Pro updated for the newest features and best Apple Music integration!
Step 2: Initial djay Pro Setup and Permissions
-
Grant Media Library Access:
When prompted, click OK to let djay Pro access your Music library and Files.
Why: This access is crucial for loading tracks from your Mac, Apple Music, or other connected sources.
-
(Optional) Sign in to Apple Music:
Click the Music tab in the media library sidebar, then click Sign In when prompted to enter your Apple ID credentials.
Why: Apple Music integration unlocks streaming, playlist access, and advanced track searching directly in djay Pro.
-
Select an Audio Output:
Open the djay Pro Preferences via Menu Bar > djay Pro > Preferences (or press Cmd + ,). Navigate to the Audio Devices tab and choose your preferred device for Master and Cue Outs.
Why: Ensures accurate monitoring and smooth mixing, especially when prepping tracks with headphones.
Warning: Denying permissions can prevent you from importing songs or accessing streaming services! Grant all requested permissions for full functionality.
Step 3: djay Pro Interface Overview
- Decks: The two (or four) large platters where each track is loaded (left: Deck 1, right: Deck 2)
- Transport Controls: Play/Pause, Cue, Sync buttons directly below/around each deck
- Mixer Section: Middle interface, includes crossfader, channel faders, EQ (Bass/Mid/Treble), and filter knobs
- Waveform Displays: Visual representations of song structure and beats for each deck
- Track Browser/Library: Bottom half of the screen; search, browse, and load tracks from your library or streaming services
- Neural Mix/Effects Panel: Top or side panels, access advanced AI tools and FX
Take a minute to explore the UI! Hover your mouse over any icon for a tooltip description.
Pro Tip: Press Cmd + 1, 2, ... to switch between 2-deck, 4-deck, or Automix layouts depending on your workflow.
Step 4: Loading and Playing Your First Track
-
Open the Music Browser:
At the bottom of the screen, click the Music note icon (or use the sidebar if pinned).
Why: Here you’ll find all available music sources, including Apple Music, your local Music library, and files/Folders.
-
Navigate to a Playlist or Album:
Select a playlist from the Apple Music tab (if signed in) or My Music for local files.
Why: Organized playlists speed up finding and auditioning songs.
-
Drag & Drop a Track onto a Deck:
Click-drag a song from the browser and drop it onto Deck 1 (left) or Deck 2 (right).
Or: Right-click any song and choose Load on Deck 1 or Load on Deck 2.
Why: This action preps the track, allowing you to cue and visualize it immediately.
-
Press Play:
Click the Play (▶︎) button below the deck, or press the Spacebar.
Why: You’ll instantly hear the track through your selected Master output.
Pro Tip: Use the Sync button (small double arrows) to automatically match BPM with the opposite deck—perfect for tight mixes!
Step 5: Beatmatching and Mixing Basics
-
Load a Second Track:
Repeat Step 4 for Deck 2 (right). Line up two tracks you want to blend.
Why: Having two tracks primed allows you to practice transitions and DJ essentials.
-
Check Your BPMs:
Above each waveform, view the BPM display. If the two tracks differ, consider using the Sync button to auto-match them.
Why: Matching BPMs ensures musically harmonious mixes and easier beatmatching.
-
Preview (Cue) the Next Track:
Activate the Cue button (headphones icon) on the deck you’re prepping. Ensure your headphones are selected for the Cue output (see Step 2.3).
Why: Previewing lets you beatmatch and set your entry point without the audience hearing.
-
Align the Beats:
Watch the waveforms visually or, for hands-on practice, nudge the deck platter forward/back to match the downbeats.
Why: Manual beatmatching is an essential DJ technique even with auto-Sync tools available.
-
Use the Crossfader to Transition:
Slowly slide the Crossfader (center of interface) from Deck 1 to Deck 2 as the new track comes in.
Why: This blends the audio smoothly—essential for creating seamless mixes and maintaining flow on the dancefloor.
-
Adjust EQ and Filter:
Use EQ knobs (Bass, Mid, High) and the Filter control during transitions to sculpt the mix and avoid clashing frequencies.
Why: EQ management is the real art of professional DJ transitions!
Pro Tip: Try shifting out the low frequencies (bass) on the outgoing track as you mix in the new track to create clear, non-muddy transitions.
Step 6: Exploring Neural Mix and Effects
-
Enable Neural Mix:
Click the Neural Mix™ button (brain/AI icon) above any deck's waveform.
Why: Lets you isolate or mute vocals, drums, or instrumentals in real-time using AI—revolutionary for creative mixing!
-
Interact with Stems:
Use the Neural Mix sliders to bring up or down the Vocals, Drums, or Harmonics layers independently.
Why: You can blend acapellas, create spontaneous mashups, or remove vocals for live remixes.
-
Add DJ Effects:
Click the FX button (wave/sparkle icon), then choose effects like Echo, Flanger, Reverb, etc. Turn and tweak effect knobs to taste.
Why: Creative effects shape your DJ identity and increase crowd excitement!
Pro Tip: Drag-and-drop Neural Mix outputs—like pure vocals—to another channel or sampler for advanced live remixing.
Troubleshooting and Common Mistakes
- No Audio Output? Go to Preferences > Audio Devices. Ensure Master and Cue outputs are assigned to the correct hardware (built-in output, DJ interface, etc.).
- Tracks Not Showing? Double-check Music or Files permissions in System Preferences > Security & Privacy under Files and Folders.
- Sync Not Working? Some songs (especially live recordings) might have varying tempos; try manual beatmatching and use Grid Adjust to fix beatgrids (click gear icon above waveform).
- Playback Issues or Glitches? Restart djay Pro and close background apps. For persistent issues, reinstall from the App Store and check for macOS updates.
Pro Tip: Save your session as a Playlist for later recall—great for practicing or future gigs!
What’s Next?
- Practice with Automix—let djay Pro transition between tracks automatically and learn from the results.
- Connect a MIDI controller or mixer for hands-on control (check Menu Bar > djay Pro > MIDI Devices for plug-and-play support).
- Explore Sampler and Looper features for creative performance.
- Discover djay’s video mixing and live broadcast features for advanced shows.
Mastering the basics of djay Pro opens the door to world-class DJing, live performance, and creative exploration—all with the power of Neural Mix and seamless Apple Music integration!